
One of my favorite foods in the world to eat is sushi. The balance of flavors is so fantastic. The combination of textures that you get between the crunchy seaweed, the chewy rice, and the soft fish makes for an amazing bite. The downside to sushi is that to make it yourself DOES take a lot of work…but work that is totally worth it 🙂
There are multiple steps to making quality sushi. The first and most important step in making sushi is the rice. It’s not a commonly known fact outside of the culinary world, but sushi is in fact not about raw fish. Sushi is actually all about the rice. Vinegar is the key ingredient in making quality sushi rice. I know what you’re probably thinking, “Vinegar!?!? I don’t remember tasting vinegar when I eat sushi!” That’s because the vinegar is always well balanced with sugar. The sour of the vinegar needs a balance from the sweet…and as you will see in the recipe and technique, sugar is definitely along for the ride.
Step one in making rice for sushi is to buy a decent sushi rice. Most if not all sushi rice is a medium grain, with a decent amount of starch. That starch is, for the most part, your enemy here. First, you will wash the rice in a bowl with water; changing out the water a couple of times, until the water is clear when you stir the rice around. Next, You will want to cook the rice according to the package directions. The rice that I bought calls for a 2:1.5 ratio of water to rice…different than the standard 2:1 ratio for long-grain rice. As normal, you bring the slightly salted water to a boil, stir in the rice, then reduce the heat to low. Cover, and let the rice cook on low for 20 minutes. Remove from the heat and let sit 10 minutes before fluffing with a fork.
I am going to go off on a tangent here for a second…when cooking rice on an electric stovetop, for years my rice wasn’t turning out correctly, and I couldn’t figure out why. It wasn’t until I went to culinary school and this subject was brought up that I got my solution. On an electric range, when you turn the heat from High to low, it takes a long time for the burner to cool down. This will cause the rice to overcook, often leaving it sticky or crunchy. The trick is to use one burner at high to bring the water to a boil, while at the same time turning a back burner to low. Then, when the water comes to a boil, you add the rice, stir, cover and move the rice from the hot burner that you just turned off, to the burner set to low, where you want the rice to finish.
Now, you have a batch of perfectly cooked sushi rice…now what? Well, while you were making your rice; you were also adding a quarter cup of rice vinegar, a tablespoon of sugar and a teaspoon of salt to a smaller pot on another burner, and bringing it to a medium heat. Stir this well, allowing both the sugar and salt to dissolve in the vinegar. Once the salt and sugar are fully dissolved, set the mixture aside until your rice is done cooking.
Next, once the rice has sat for 10 minutes off the heat, you are going to fluff it with a fork and move it to (preferably) a metal bowl, where it will cool. Once the rice has fully cooled down, you will fold in the vinegar/sugar/salt mixture. When that’s done, you have a fantastic sushi rice ready for spreading out.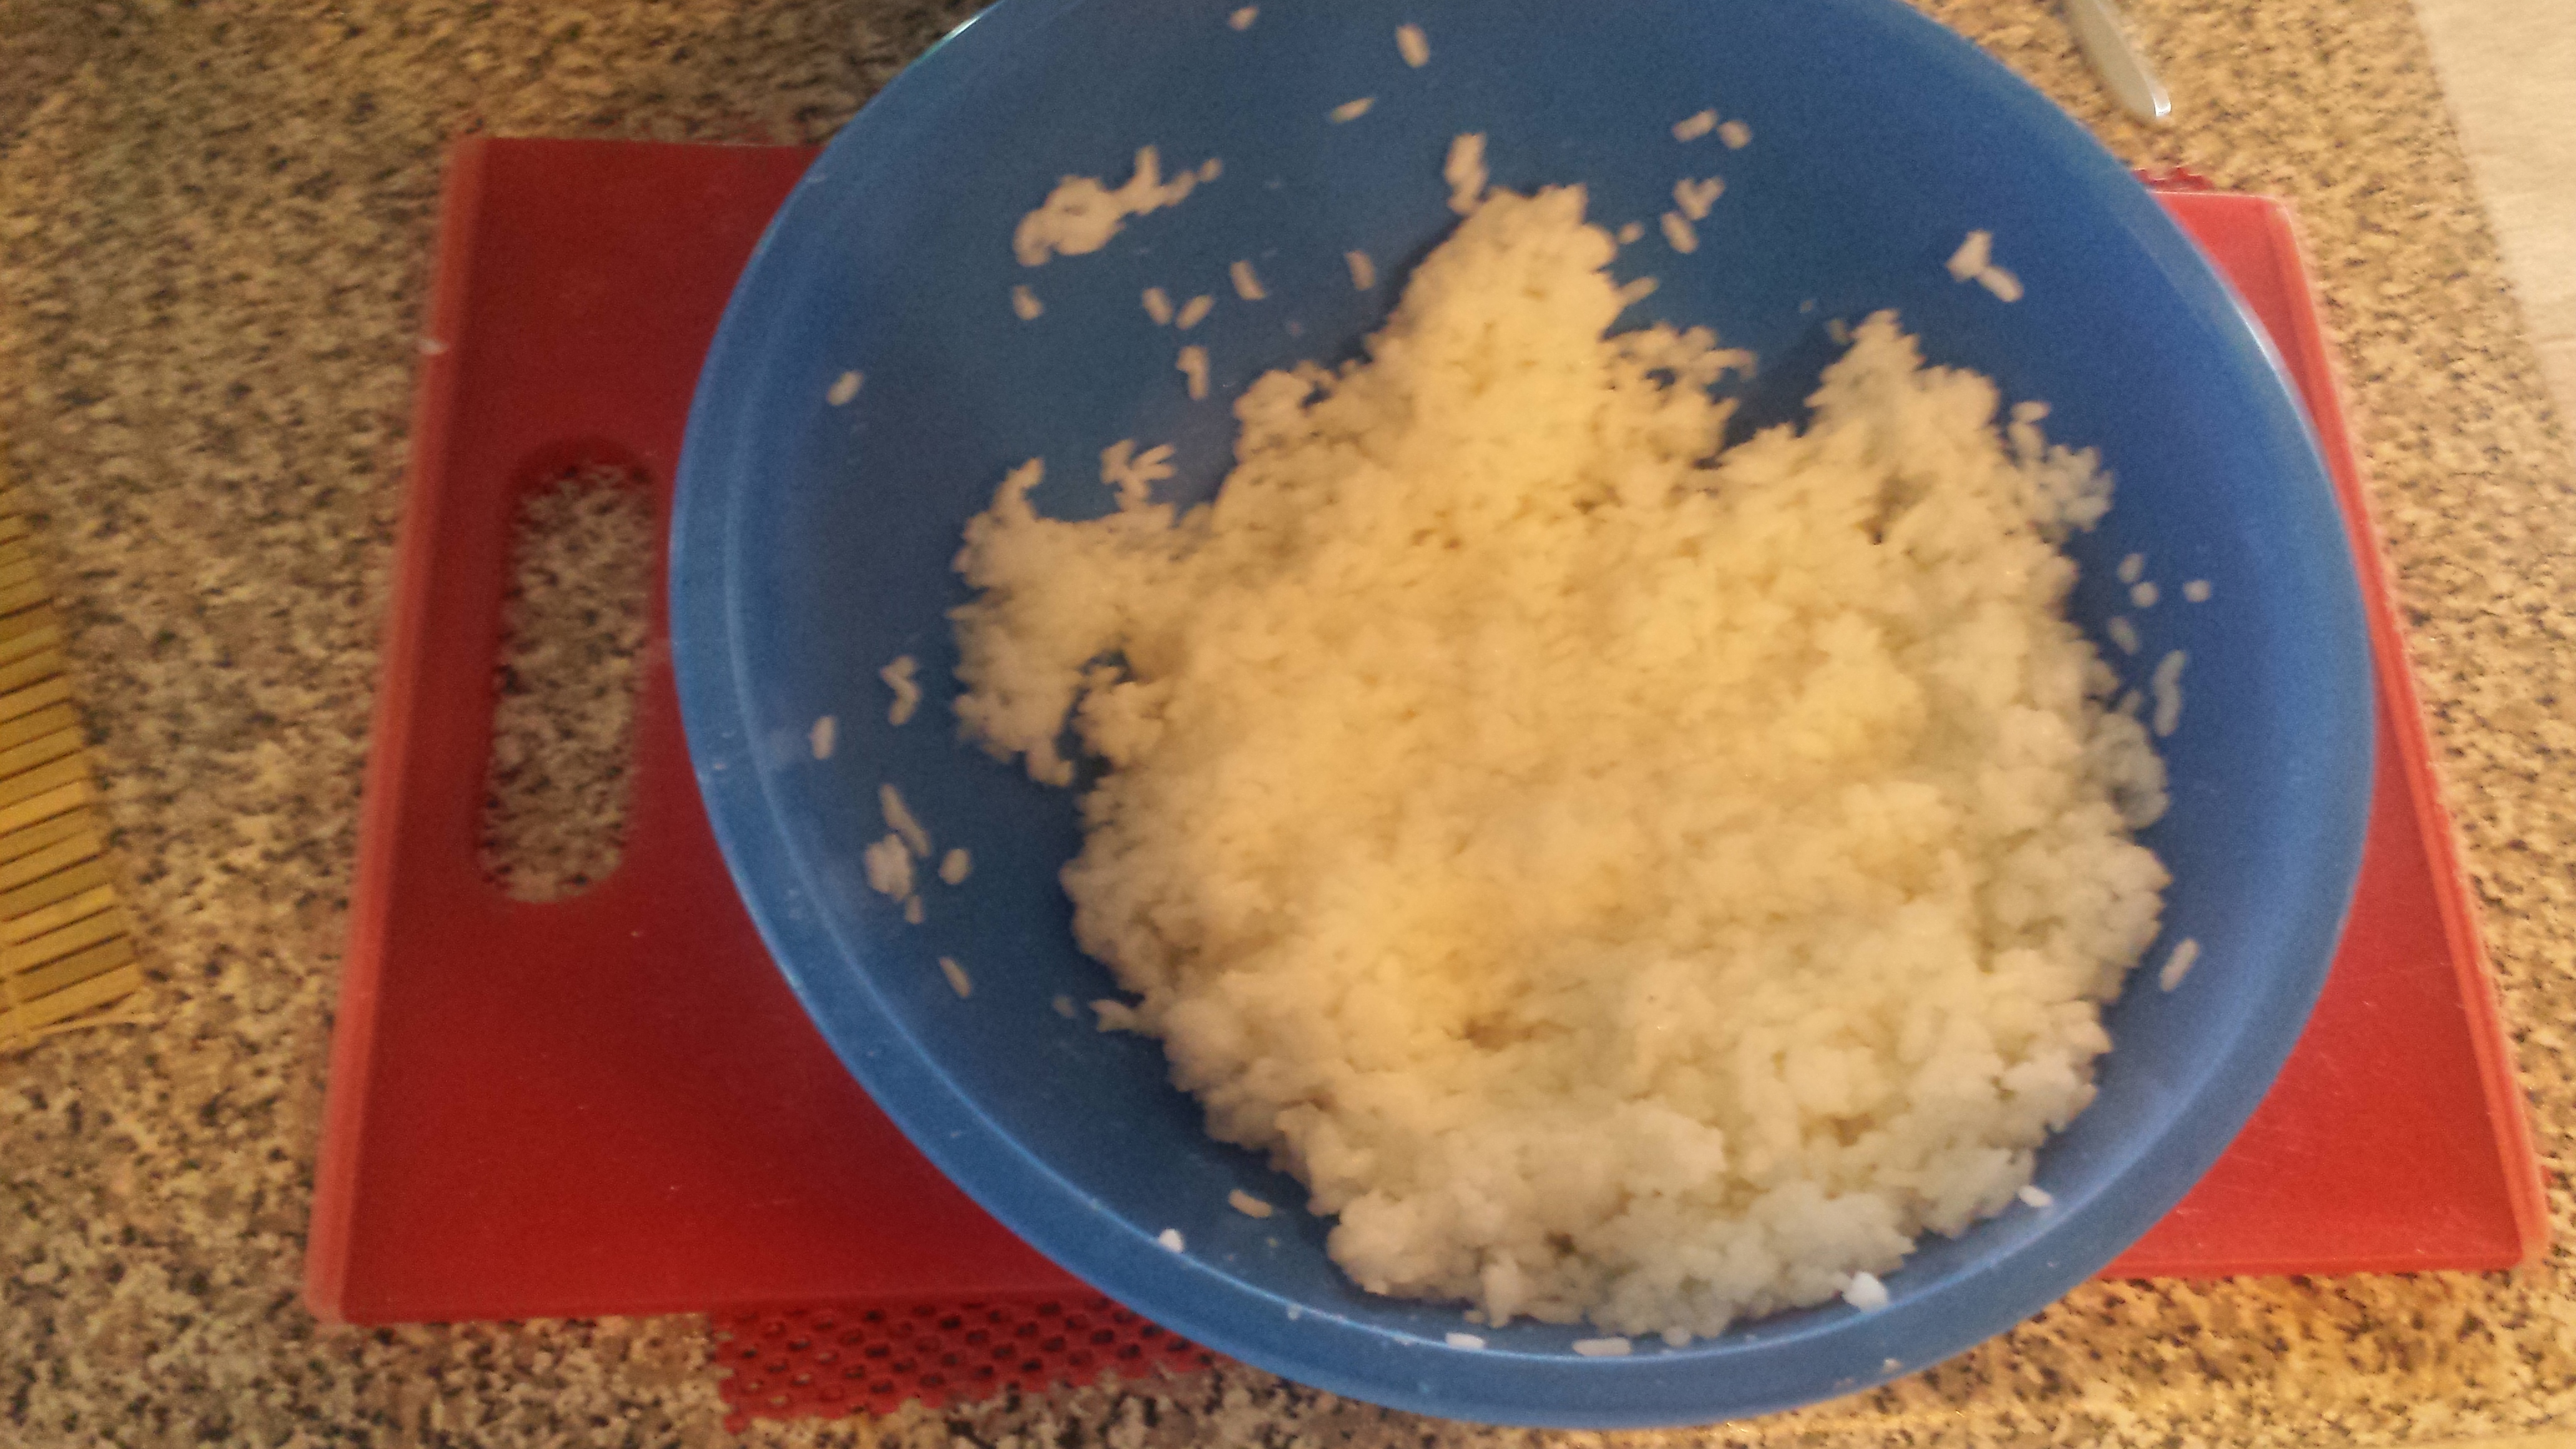
Next, you are going start the process of making your sushi. For my last batch, I was originally inspired by overhearing that they had their sushi grade tuna on sale. If you can find quality tuna, it makes a GREAT sushi. First, I just slice the tuna into thin slices, then rolled it into some rice with a little bit of cream cheese to balance out the flavors. This used up about 60% of my tuna. Then after having that, I was inspired to do what I always do…and try to take things to another level 🙂
I was first inspired by the standard spicy tuna roll that most sushi restaurants have. Another side note for future reference. When you see the spicy tuna roll on a menu, it is usually advisable to avoid it. They intentionally use the scraps and the worst parts of the tuna to make this, since there are a host of other ingredients that can mask the lower quality. However, when you make this yourself, you can handle the quality control, heh heh. I started off with some of the cream cheese that I had left over from the night before. Then, I added maybe a teaspoon or so of sriracha, a tablespoon of sesame oil, and a couple dashes of lime juice, to bring that wonderful acidity to the party. I mixed it all up…and it was delicious!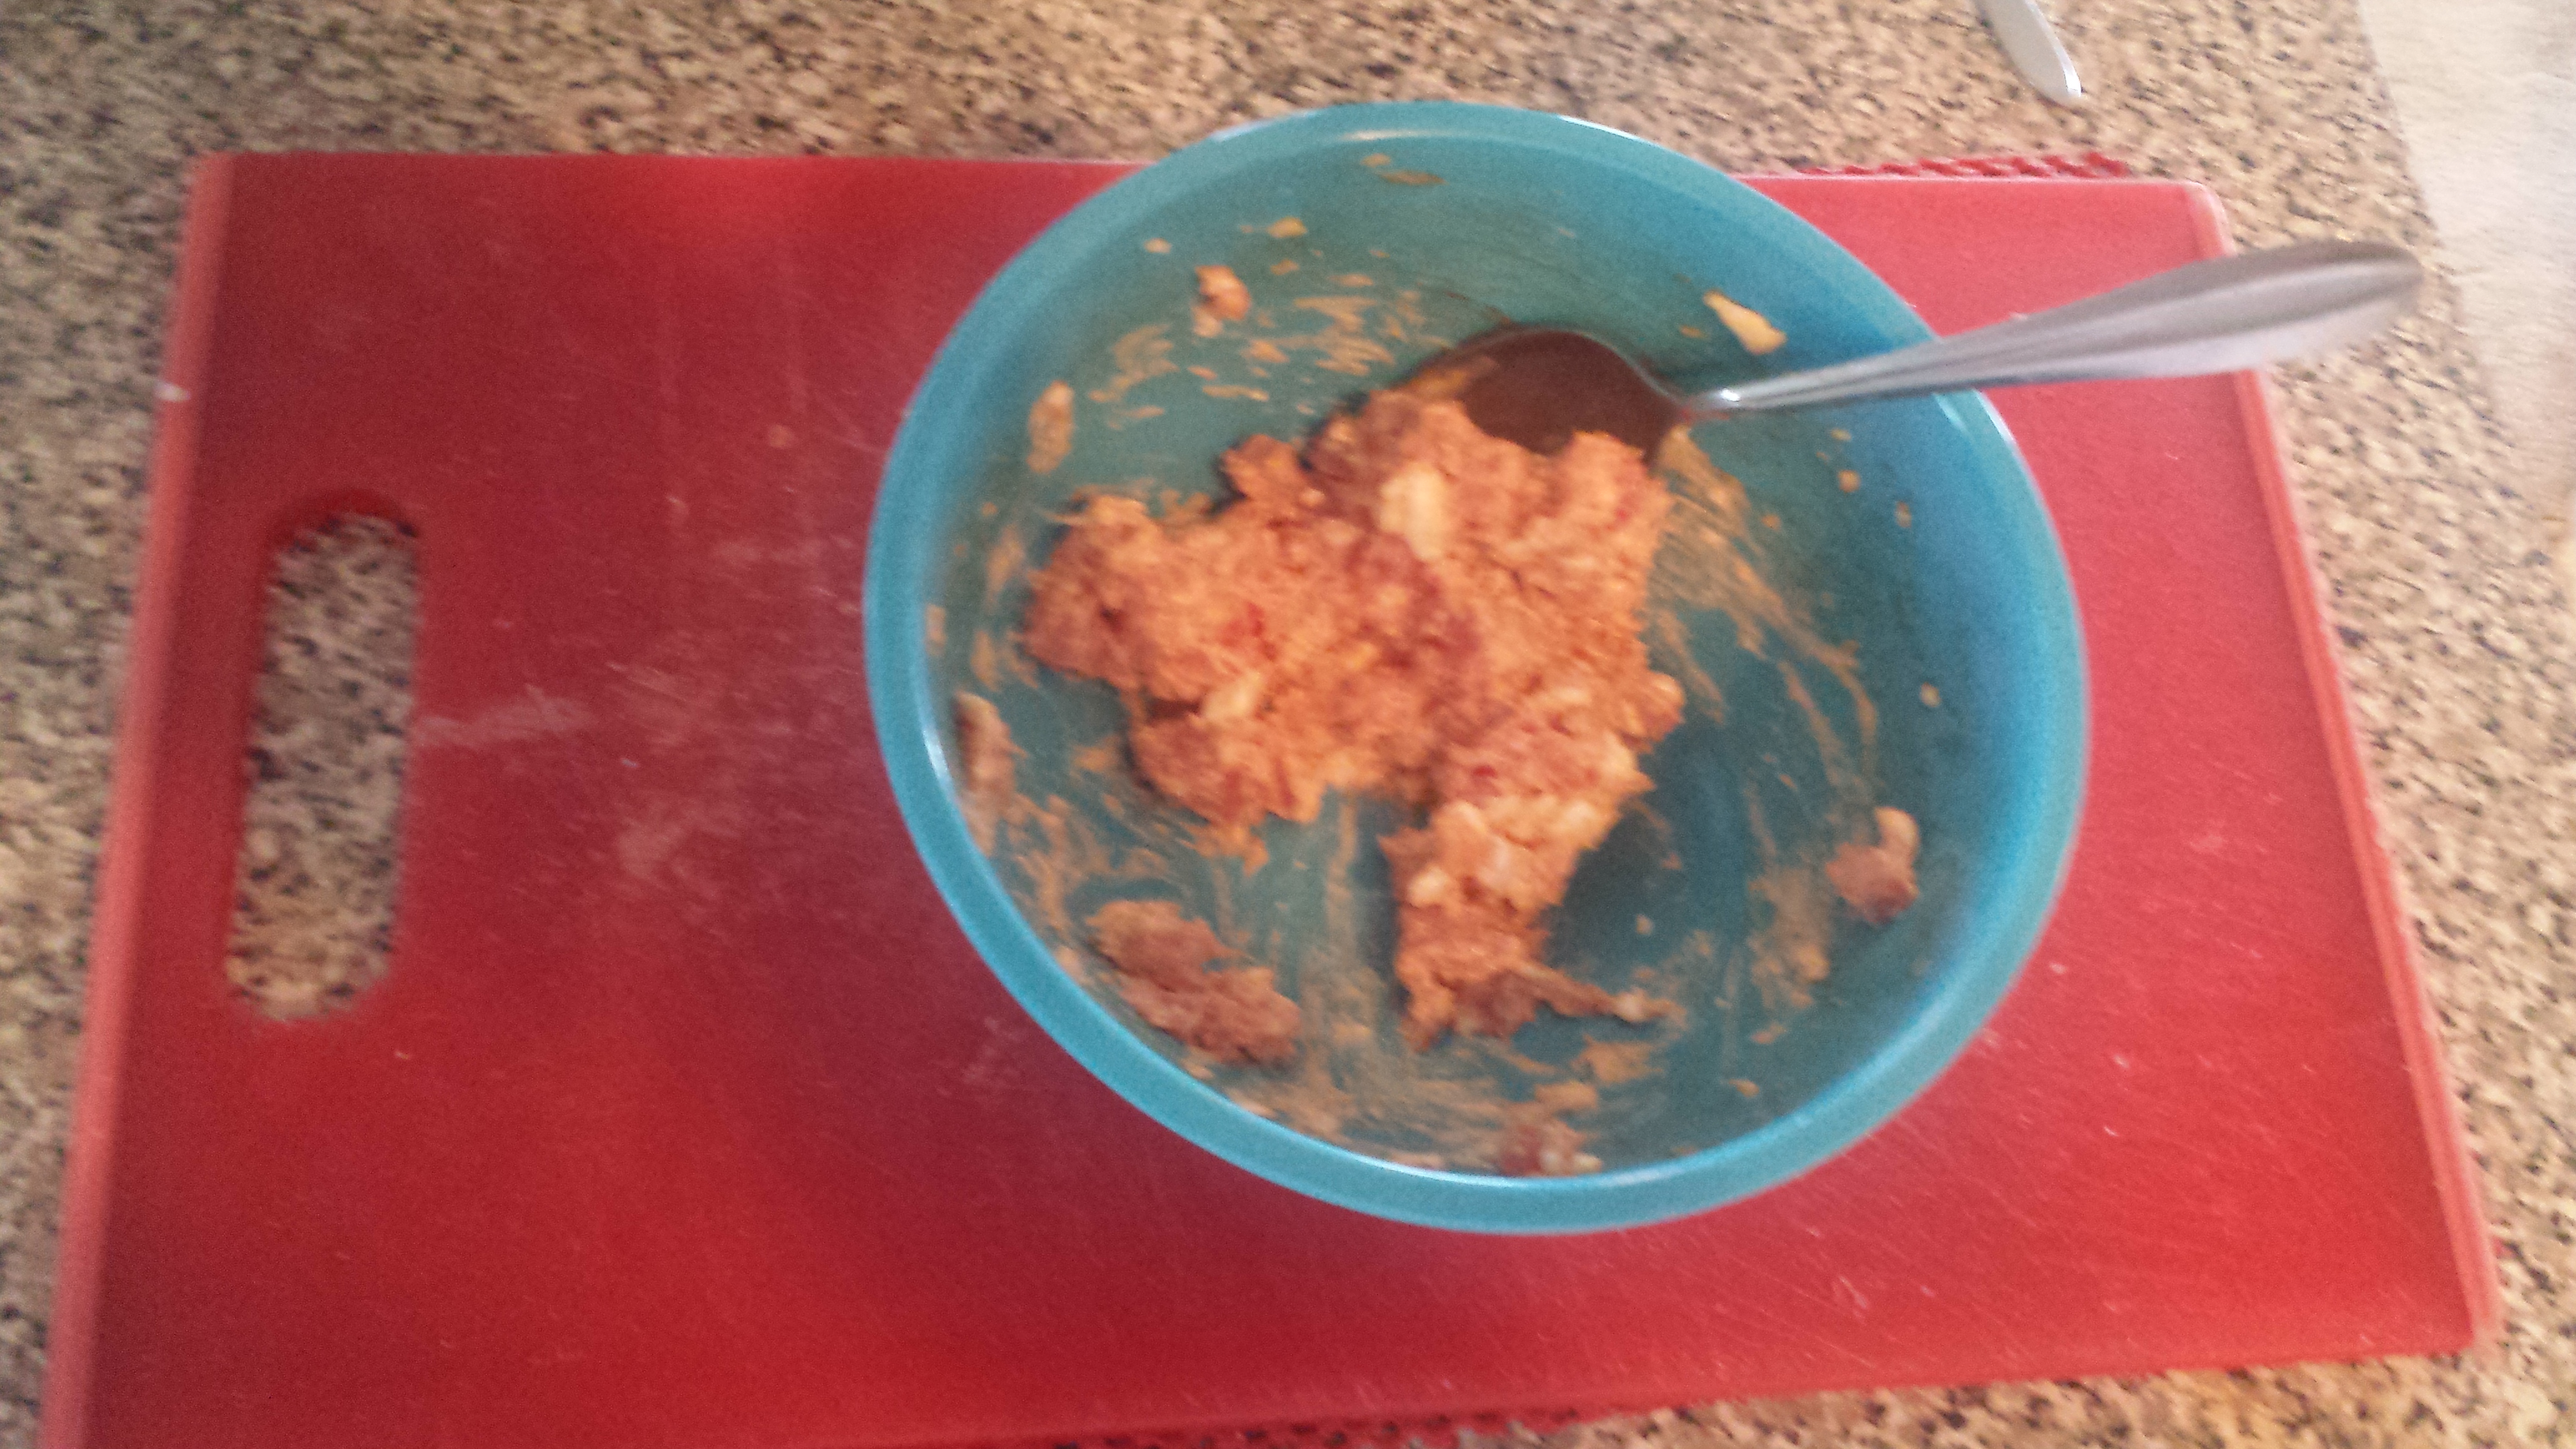
Once I had everything prepped and ready to go, it was time for me to start rolling some sushi. First, in order to roll sushi correctly, you are going to need a bamboo sushi mat, which can easily be found online or at your local Asian market. Then, you will also need some nori, the dried seaweed used to make sushi. I can actually find this at my local Sprouts, but you might need to go to an Asian market to find some yourself.
Place a single sheet of nori onto the bamboo mat…and don’t worry about how dry and fragile it feels. The moisture in the rice will soften up the nori and allow for easy manipulation. When spreading the rice onto the nori, use you hands…and be careful not to make the same mistake I did. I was far too eager to enjoy my sushi, and put wayyyy too much rice onto the nori. In the picture below, I actually had it right…you definitely don’t need to cover the whole sheet with rice. When you roll, the gaps will be filled in quite nicely. Here is a sheet of nori with the correct amount of rice.
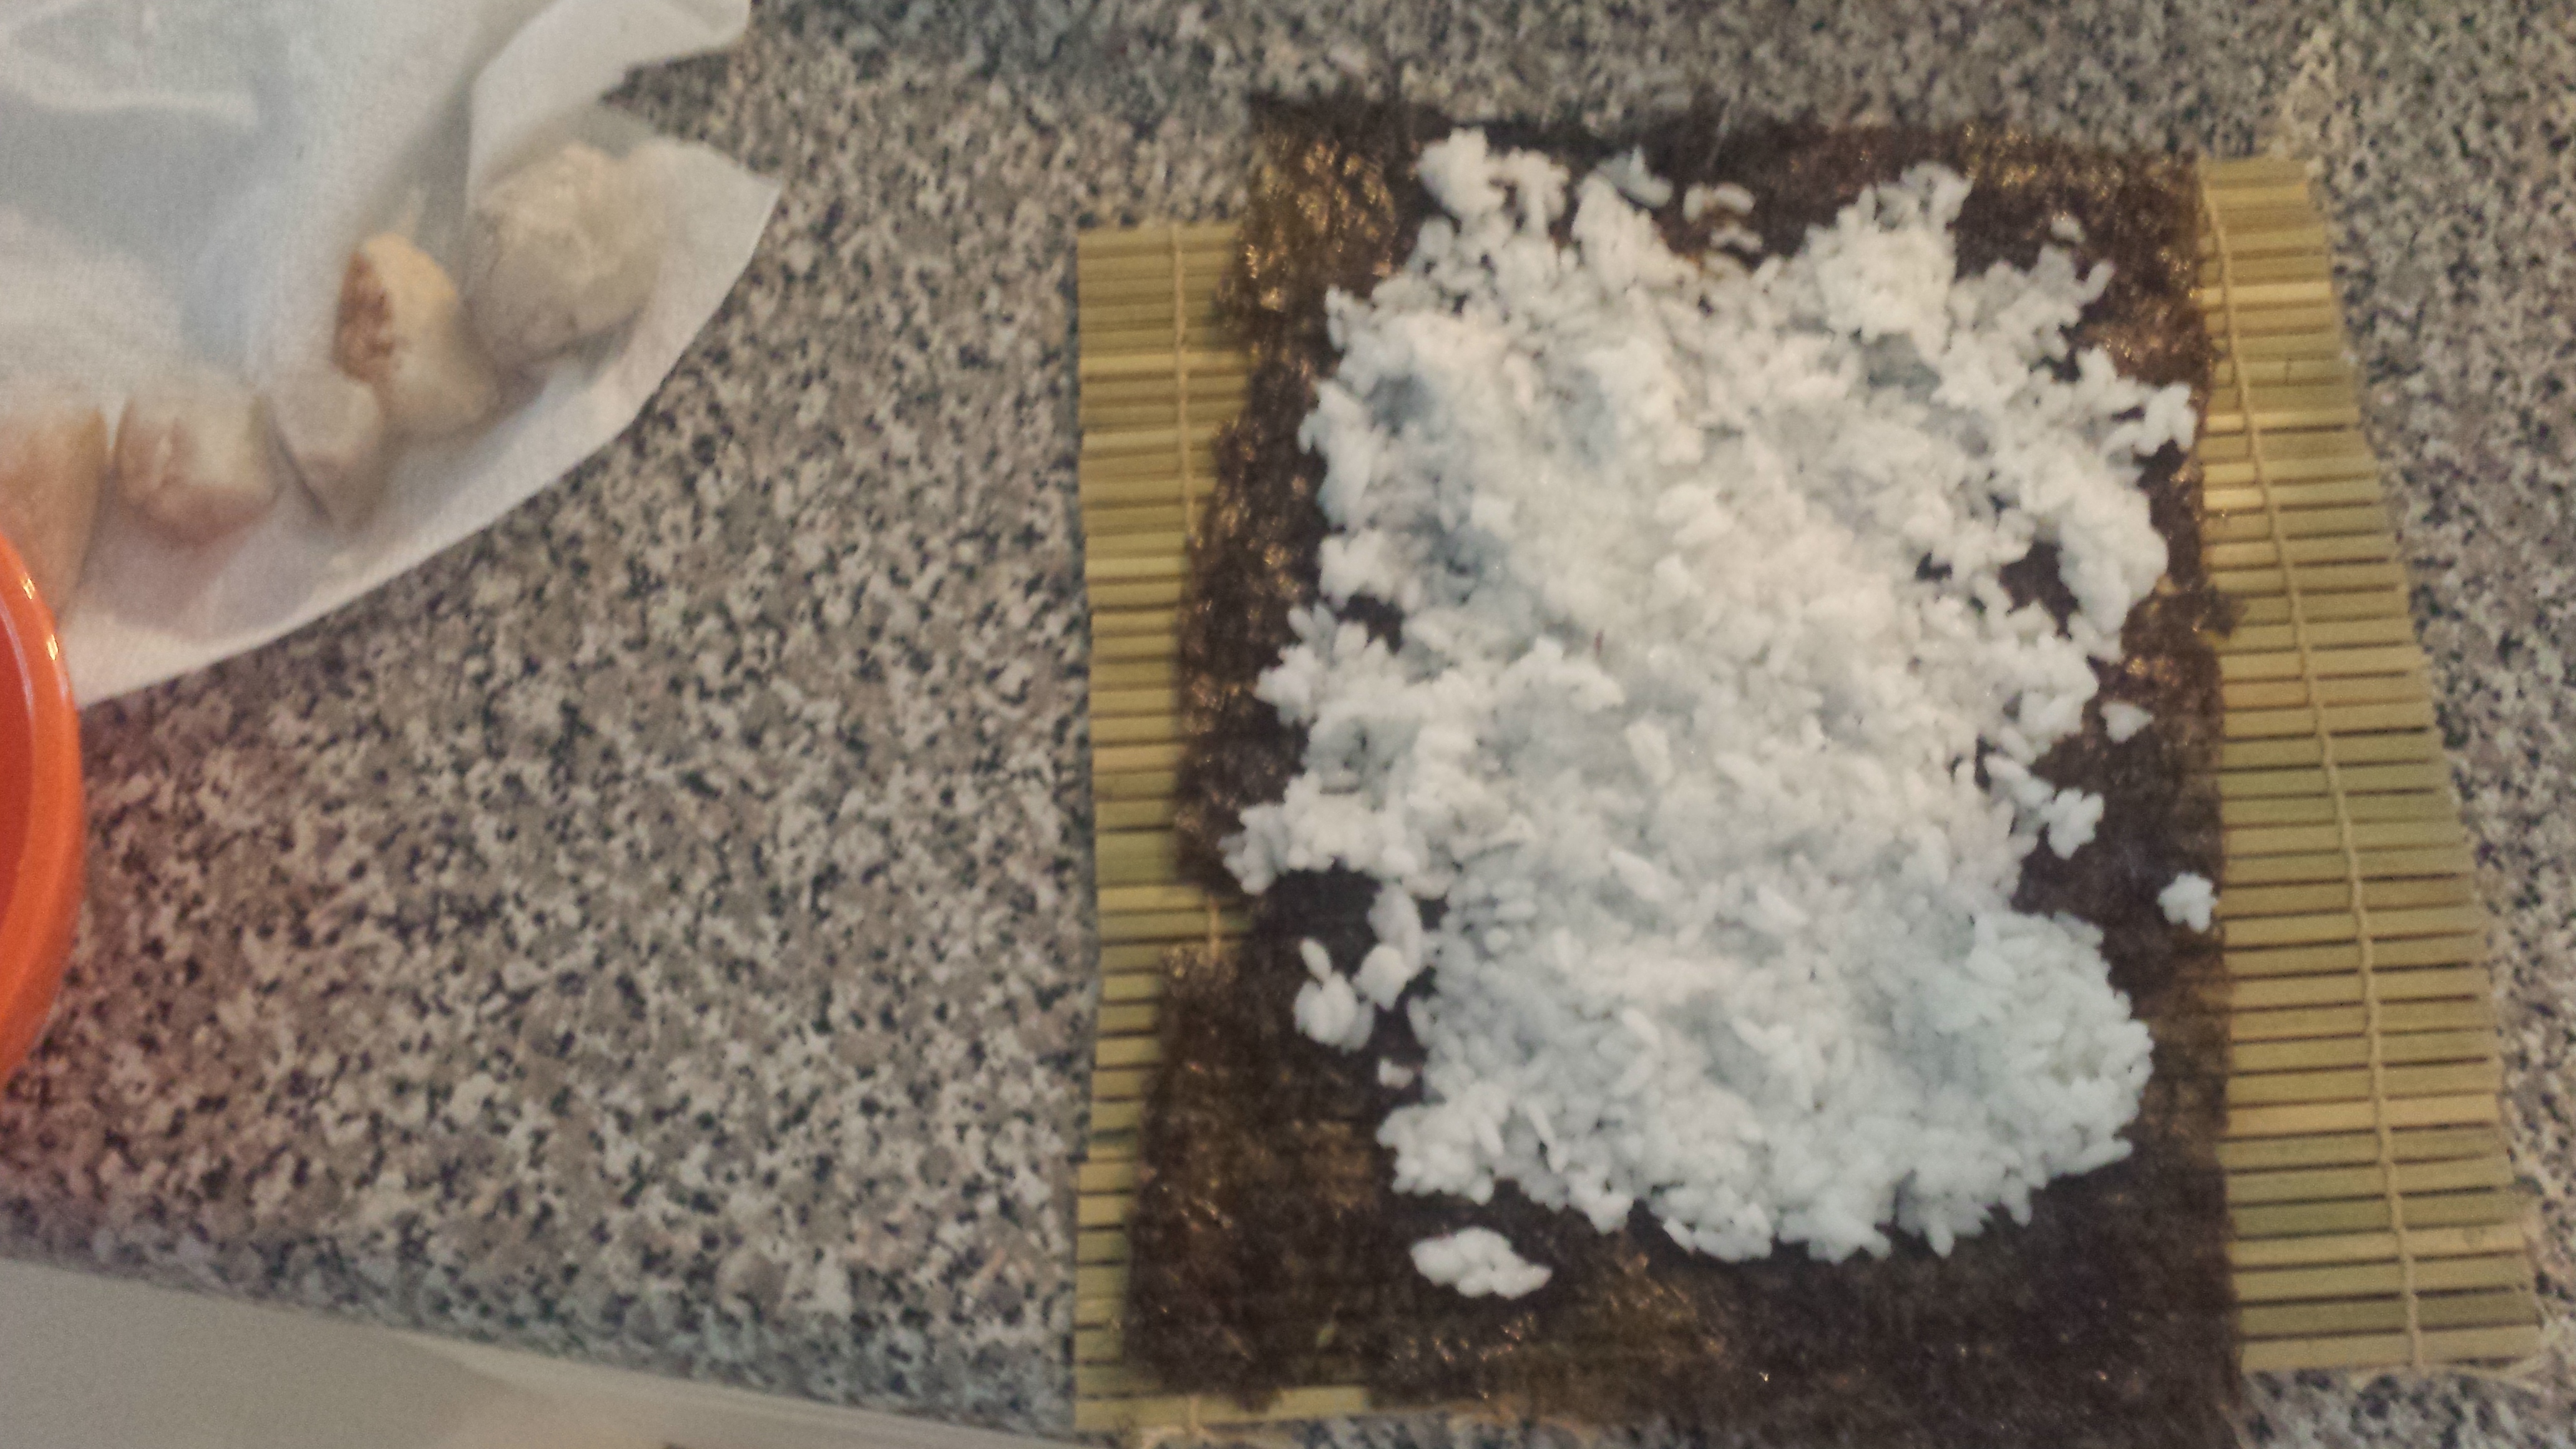
Notice that there is a border around the edges, where the nori isn’t covered. That’s what you want. The technique for spread the rice is out to use a rolling motion with you hands…despite my earlier reassurances, the nori WILL break if you are too rough with it. if you use a gentle spreading and rolling motion, it will be fine. One tip is to keep a smaller bowl of water available, to clean off your fingers while spreading the rice. Traditionally, nothing should be introduced that isn’t vinegared, so if you want to be a stickler, feel free to add a little bit of rice vinegar to the cleaning water, heh heh.
Then, once you have the rice spread out, you will want to add your filling. I spread out a layer of the spicy tuna mixture on top of the rice, again leaving a border on the outside. Like with the rice, I do this to allow some room for the fillings to move in the roll, without squeezing out the sides. Here is the sushi right before I rolled it.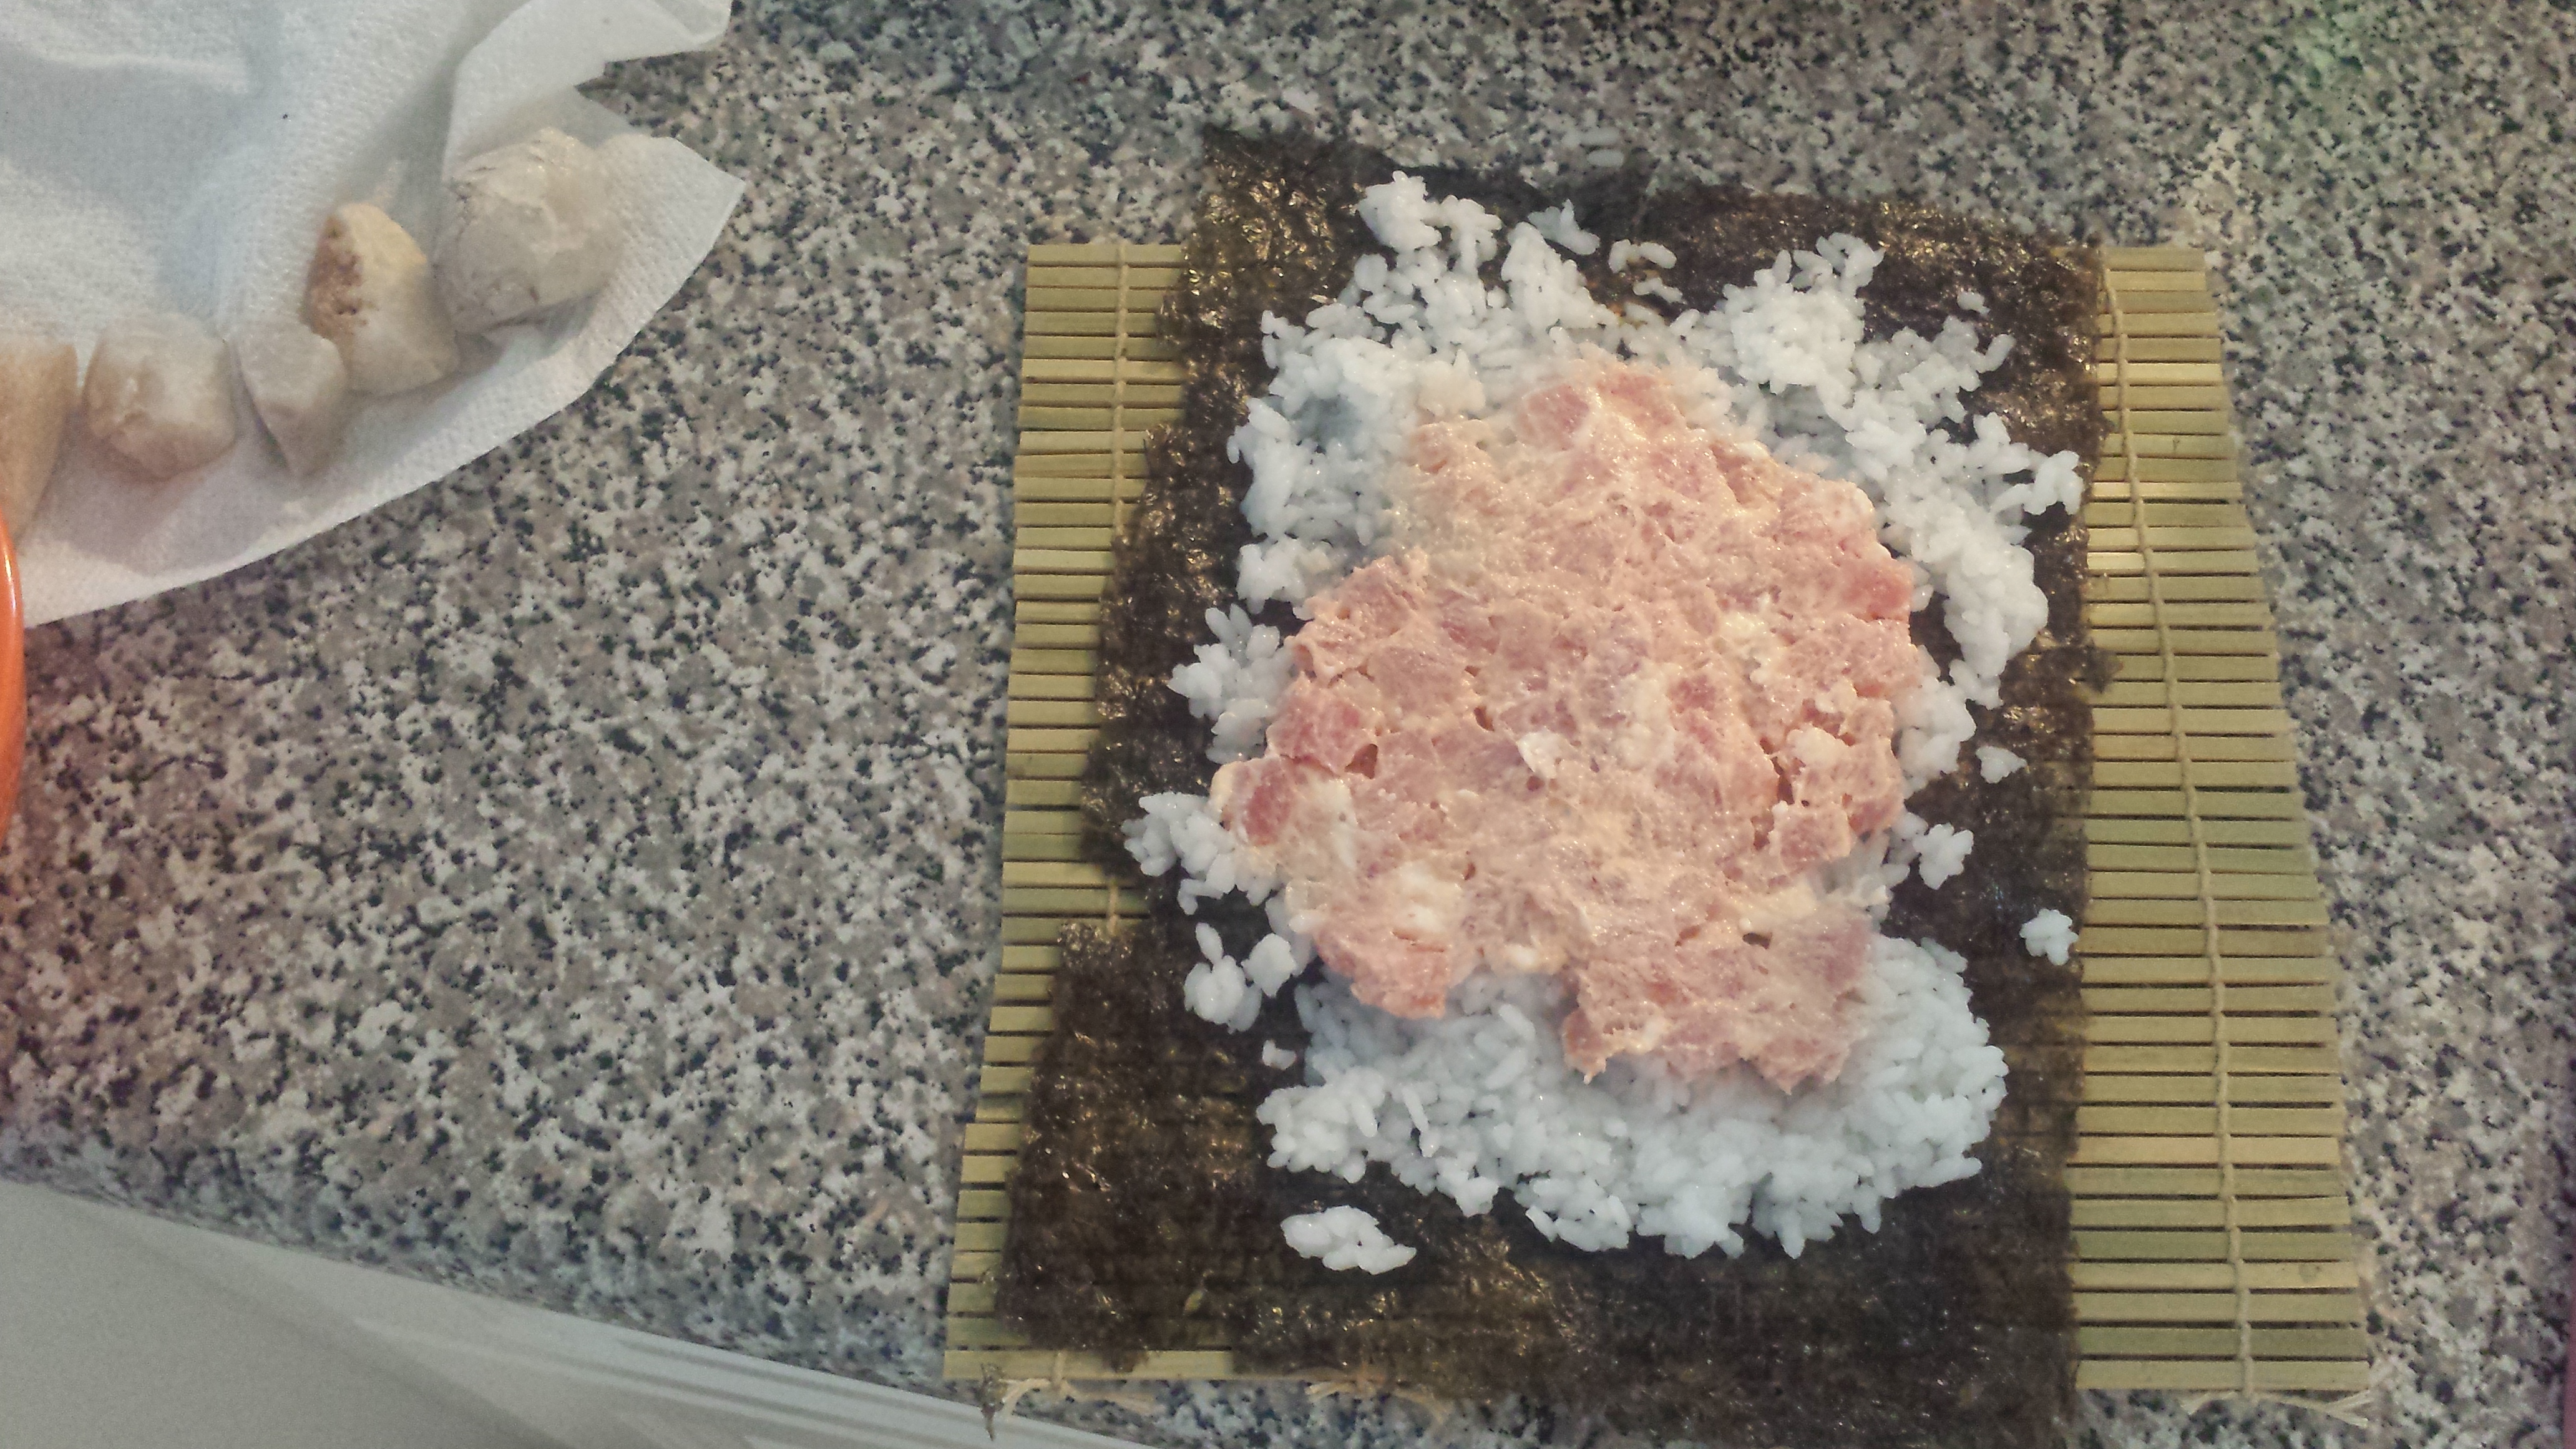
Now, the rolling is easier said than done. You will want to use the mat to handle the rolling, folding it up about 1/2-1 inch at a time, tightening the roll at every step. In a perfect world, you would have the sushi rolled up in 4 folds, making a square, that you can then massage into a circle. However, here in the real world, if you can manage to get the sushi rolled up, consider that a victory 🙂 One thing that I want to touch on here…a mistake that I made, that I don’t plan on repeating. If you look at the picture, you can see that the nori is slightly askew in its alignment with the bamboo mat. This turned out to be a problem that wasn’t easy to fix. At this point the nori is slightly moist, and pretty sticky. I had to work VERY hard, in order to get the two lined up. Try to be careful when spreading the rice, to avoid this problem. Finally, I had a roll of spicy tuna, that I was able to slice up: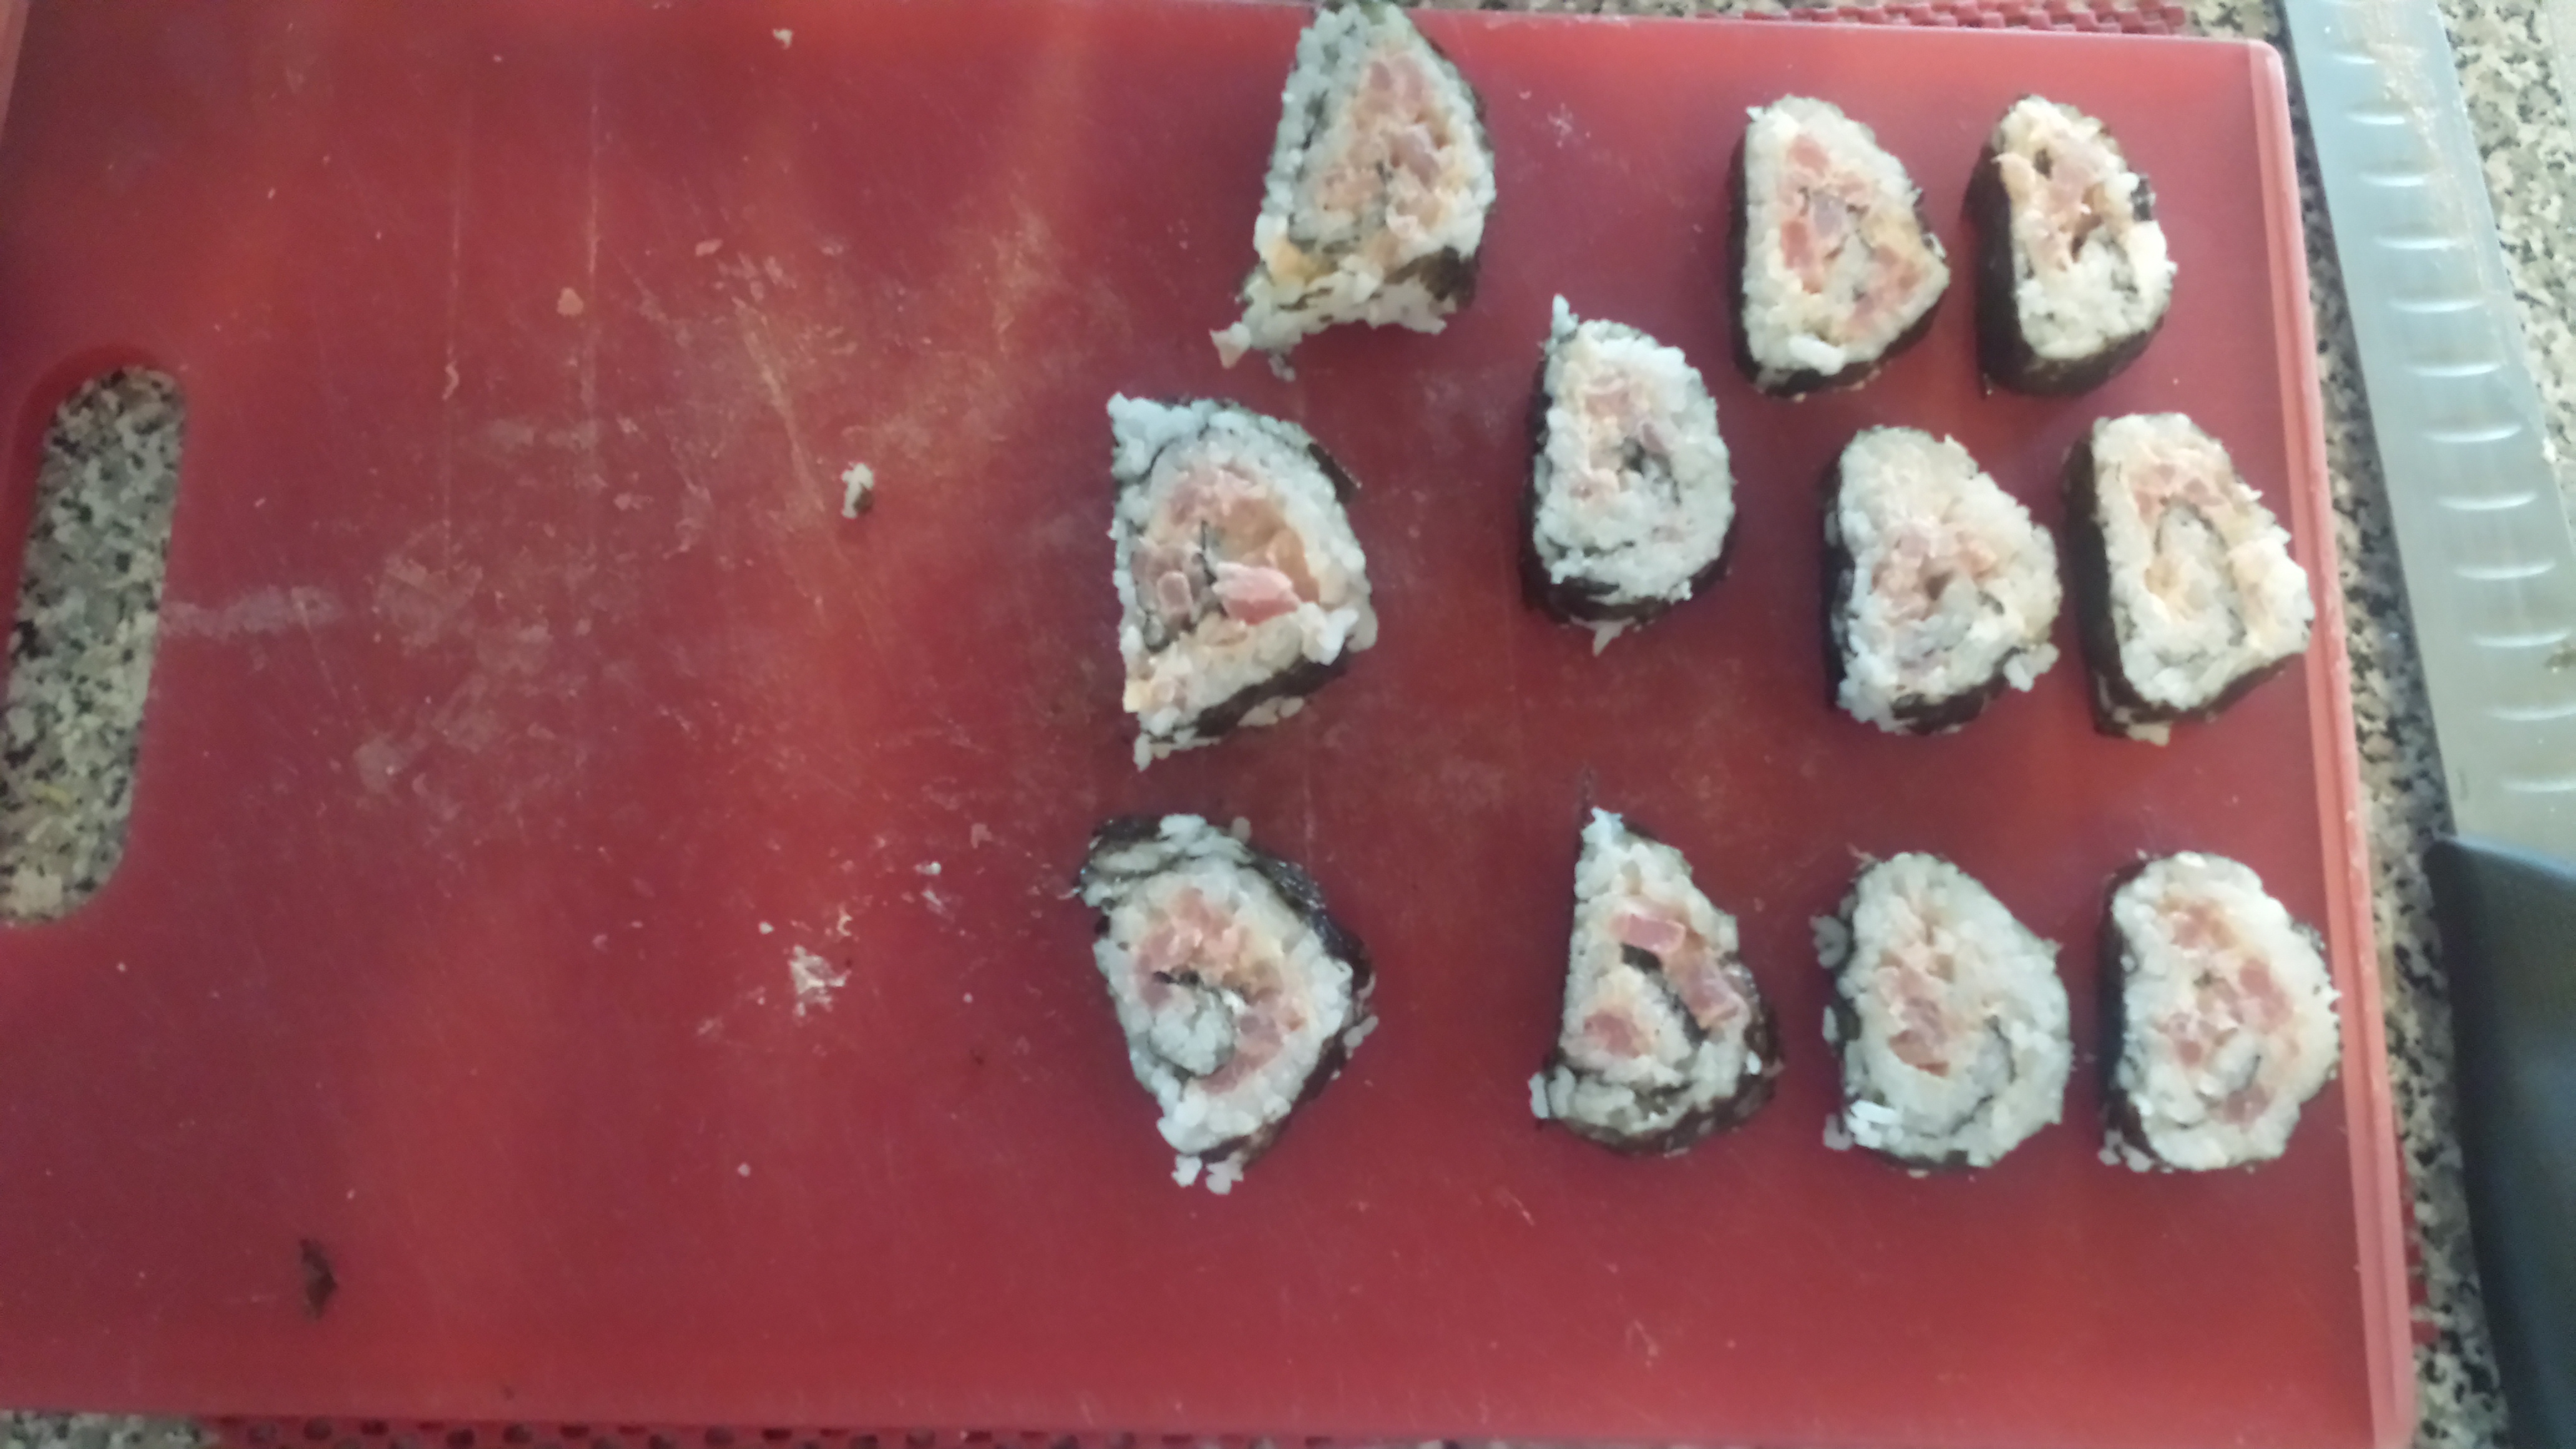
One more thing on slicing the sushi. As my mentor taught in culinary school, by FAR the best way to slice anything; whether it be a piece of meat or a roll of sushi, is to slice by actually holding the slice. The best way to describe it in this case, is that the sushi roll will be sitting on your cutting board. With your off-hand(my left) you will hold onto the end of the roll. Then, you will slice the roll about an inch or so from where you are holding, with your fingers holding the piece that will be cut off from the rest. This allows for a much cleaner slice than if you try to hold the roll, and just cut a slice off. If you are a tactile learner like me, this will make much more sense when you do it 🙂
Enjoy making sushi in your home…trust me, it might be a lot of work, but you definitely won’t regret it. 🙂
PS. I can’t leave without mentioning this first. In Japan, sushi is traditionally eaten with a small amount of soy sauce for dipping, some wasabi paste for spiciness, and pickled ginger. The pickled ginger is supposed to be used to clean your palate between bites…that way each bite is clean. Also, sushi is traditionally a finger food. It’s Americans that want to act fancy that use chopsticks 😉
Here are the recipes for what I made…though the technique is far more important than the recipes.
Rice(yields 3 cups of cooked rice):
1.5 cups sushi rice
2 cups water
1/4 cup rice vinegar
2 Tablespoons sugar
1 teaspoon salt
As needed: nori sheets
Spicy Tuna(yields enough spicy tuna for 6 rolls)
1/2 lb sushi grade tuna, cut into cubes or minced well
2 Tablespoons softened cream cheese
2 teaspoons of sesame oil
1 teaspoon of lime juice
